The GitHub Copilot app is a desktop app serving as your central hub for both Copilot and GitHub. It provides quick access to issues and pull requests, and of course allows you to build using GitHub Copilot. During this workshop you’ll be working locally, updating the Tailspin Toys app, built on Astro, using the GitHub Copilot app. Before you get started, let’s ensure Node.js is installed locally, then install the Copilot app.
In this lesson, you will:
- install Node.js so the project’s tests can run on your machine.
- create your own copy of the Tailspin Toys project from the template.
Install Node.js
Several lessons ask an agent to build features and run the Tailspin Toys test suite locally, which needs Node.js — the only runtime the project requires. Install the current LTS release.
The simplest option on every platform is the official installer:
-
In your operating system, open a terminal window using Windows Terminal, macOS terminal, or whatever you typically use.
-
Run the following command to check your installed Node.js version:
node --version -
If it meets the requirements in the project’s README and
package.json, you can skip to the next section.
-
Open the Node.js download page.
-
Download the LTS build for your operating system.
-
Run the installer and accept the defaults. On Windows, keep the Add to PATH option selected.
-
Once installed, open a new terminal window.
-
Confirm the install in the new terminal window by running the following:
node --version -
You should see the version you installed.
Set up the lab repository
You’ll work against your own copy of the Tailspin Toys project. Create it now from the template repository. The new repository contains every file the lab needs, and you’ll connect it when you install the app.
-
In a new browser window, navigate to the GitHub repository for this lab:
https://github.com/github-samples/tailspin-toys. -
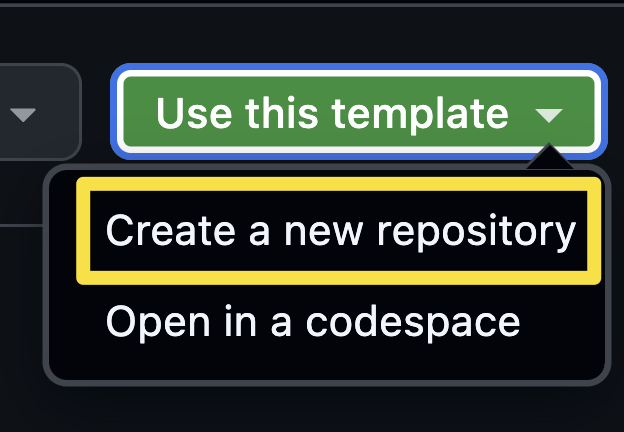
Create your own copy of the repository by selecting the Use this template button on the lab repository page. Then select Create a new repository.
-
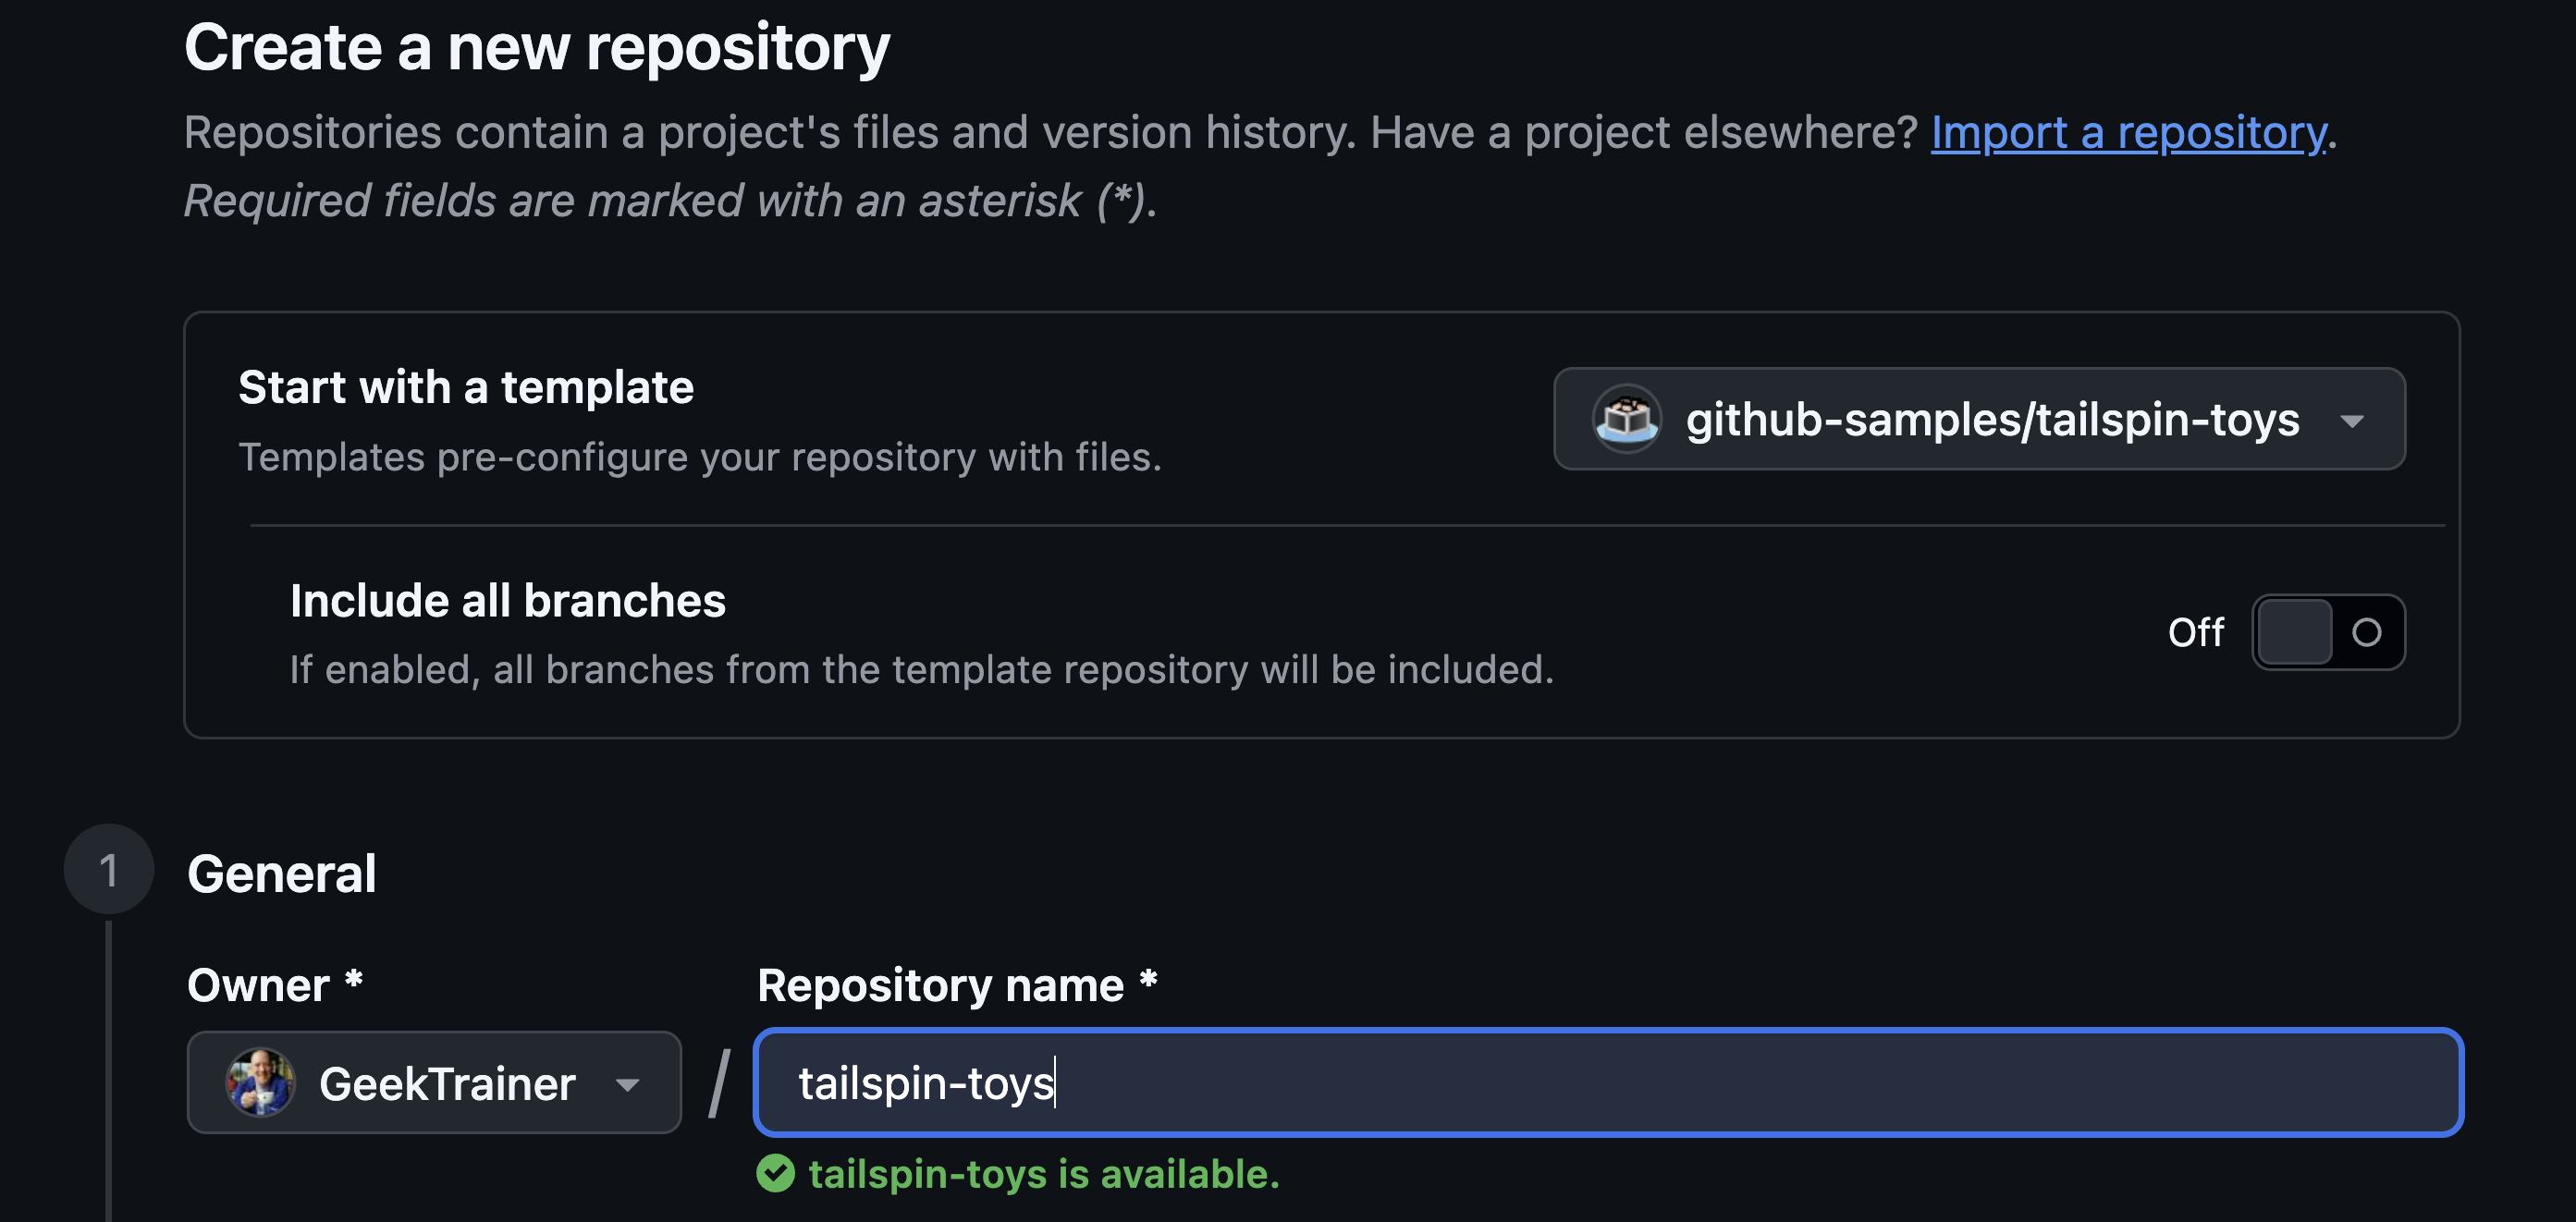
If you are completing the workshop as part of an event being led by GitHub or Microsoft, follow the instructions provided by the mentors. Otherwise, you can create the new repository in an organization where you have access to GitHub Copilot.
-
Make a note of the repository path you created (organization-or-user-name/repository-name), as you will be referring to this later in the lab.
Use a fresh copy of the workshop template. It includes repository instructions, application code, tests, a quality-checks skill, and an existing canvas extension. You’ll customize the skill and create a QA agent during the workshop. If you use an older copy, check with your facilitator that it has the files you’ll need.
Summary and next steps
You’re set up! In this lesson, you:
- installed Node.js so the project can build and test on your machine.
- created your own copy of the Tailspin Toys repository from the template.
Next, you’ll install the GitHub Copilot app, connect the repository you just created, and get oriented in the workspace.